
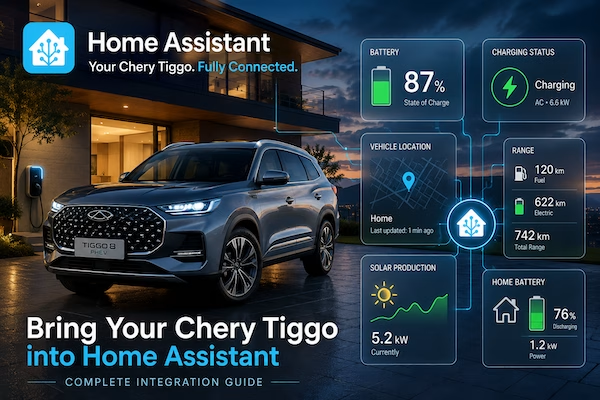
Learn how to integrate your Chery Tiggo, Omoda or JAECOO vehicle with Home Assistant using the CarLinko API and j5-ev-dashboard. We’ll expose battery level, charging status, range, tyre pressures and more for dashboards and automations.
Introduction
When I bought my Chery Tiggo 8 PHEV, I quickly found myself constantly opening the manufacturer’s app to check the battery level, charging status, or whether I’d remembered to lock the doors. While the app worked well enough, it lived completely separate from the rest of my smart home.
I already use Home Assistant to monitor my solar production, home battery, energy consumption, and EV charger. It felt strange that one of the biggest energy consumers in my home—the car—was missing from the picture.
What I really wanted was a single dashboard that answered questions like:
- How much battery does the car have left?
- Is it currently charging?
- How much range do I have?
- What’s my combined fuel and electric range?
- Is the charger plugged in?
- Has the vehicle finished charging?
- How does charging affect my home’s energy usage?
Fortunately, most of the hard work has already been done by the Home Assistant community.
By the end of this guide, your vehicle will be publishing live data into Home Assistant, allowing you to monitor battery state, range, charging status, tyre pressures, and much more. In future articles we’ll build dashboards and smart charging automations using this data.
Bringing Your Vehicle into Home Assistant
One of the things I enjoy most about Home Assistant is having everything in one place. My solar production, battery storage, lighting, security, and EV charger are all visible from a single dashboard. The one thing that was missing was my vehicle.
The manufacturer’s mobile app works well for checking the battery level or starting the climate control, but it lives in its own ecosystem. I wanted that information available inside Home Assistant so I could include it in dashboards, notifications, and eventually, automations.
After doing some research, I came across the excellent j5-ev-dashboard project by GodrezJr2.
Despite its name, the project isn’t simply a dashboard. It provides the integration layer that communicates with the vehicle’s cloud services (CarLinko) and exposes the vehicle’s information as native Home Assistant entities. Once those entities are available, you can use them just like any other Home Assistant sensor or binary sensor.
That means you can access information such as:
- Battery state of charge
- Electric and fuel range
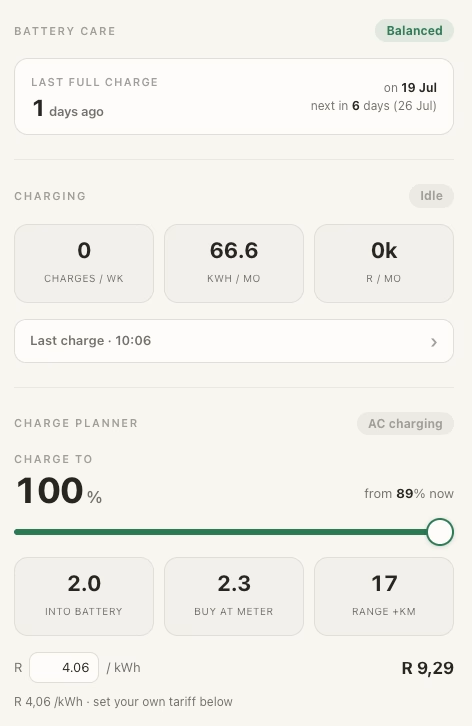
- Charging status
- Vehicle location (Not available to all countries)
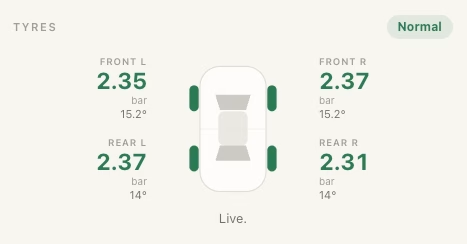
- Tyre pressures
- Odometer
- And other vehicle metrics
Once the data is available in Home Assistant, the possibilities become much more interesting. You can build your own dashboards, create automations, combine vehicle data with your home’s energy information, and receive notifications based on the vehicle’s status.
In this article, I’ll show you how to install the integration, authenticate it with your vehicle, and explore the entities it creates. In a follow-up article, we’ll use those entities to build a rich vehicle dashboard and integrate the charger to create intelligent charging automations based on solar production and household energy usage.
Before you begin
Rather than repeat the excellent installation guide on GitHub, I’ll focus on the parts that caught me out during installation and the recommendations I’d make after living with the integration for a while.
Creating a Dedicated CarLinko User
💡 Tip: Create a dedicated CarLinko account
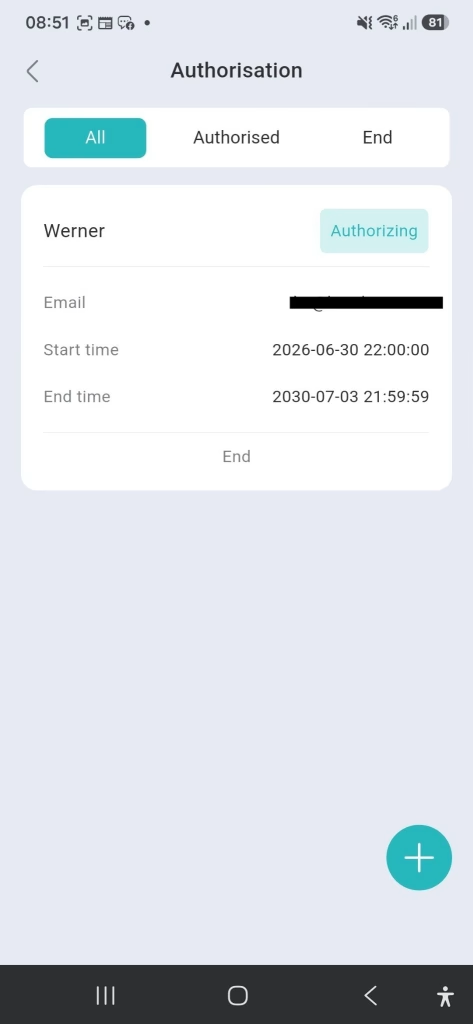
Don’t use your primary CarLinko account with the integration. Home Assistant polls the API regularly, and using your main account may result in the mobile app being logged out. Creating a secondary authorised user keeps the integration isolated and avoids this annoyance.
This can be performed by clicking on the “My” button at the bottom right, and then “Authorisation” on the page.
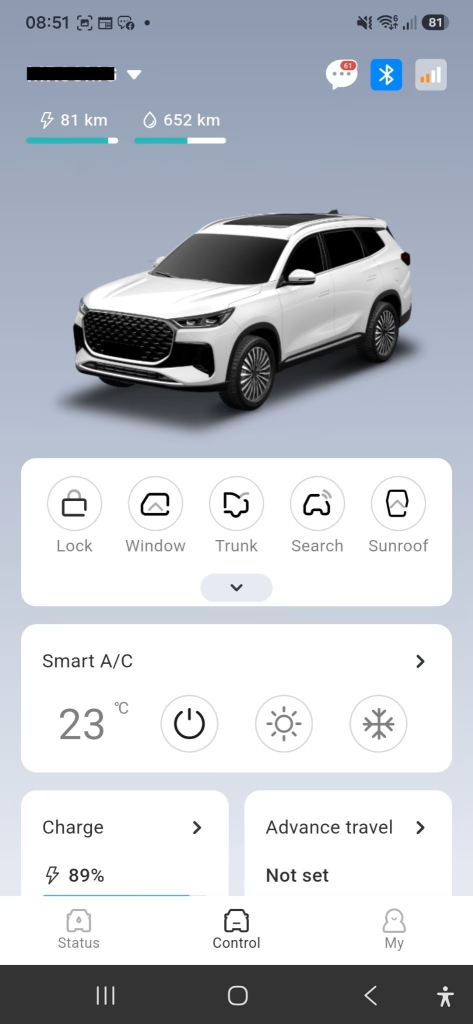
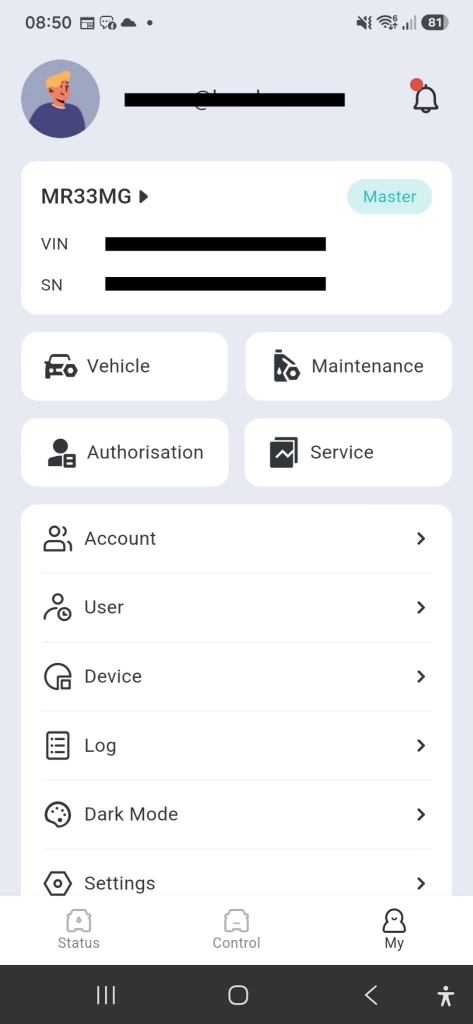
From here you can add another user that is allowed to access the application, and set the Start and End time that will allow the user access. This user will then be configured on the j5-ev-dashboard application in the next steps.
Running the CarLinko API in Docker
In order to connect CarLinko to Home Assistant, the integration can be run in several different ways, but I chose Docker because it fits nicely into my existing Home Assistant environment and makes updates straightforward.
Please ensure that it’s protected if the network is exposed in any way, since it does allow access to information that should be secured.
Run the setup.py:
The setup script authenticates against CarLinko, stores the required credentials, and creates the application’s configuration. Once completed, the API service can begin exposing your vehicle information to Home Assistant.
One thing I really appreciated while using this project is how responsive GodrezJr2 has been. If you notice a value that’s incorrect or unsupported for your vehicle or region, submit a Compatibility Report. It helps improve support for everyone.
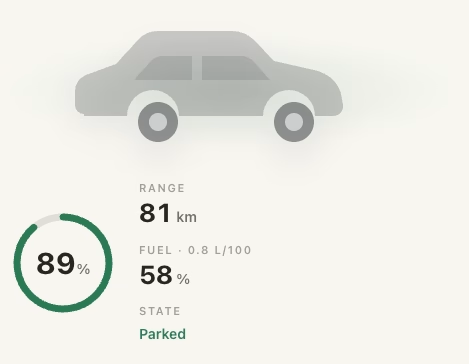
I am personally not using the dashboard provided by the application purely because I am focussing all my integrations on Home Assistant. I also do not want to make another dashboard accessible from outside of my network.
Some screenshots of what you can see on the dashboard:
Adding the CarLinko API to Home Assistant
The application exposes a REST API that Home Assistant can poll at regular intervals. Each endpoint returns a JSON document containing the latest vehicle information, which can then be converted into Home Assistant sensors using the REST integration.
Details of how to pull the vehicle details into Home Assistant can be found under docs/HOMEASSISTANT.md in the git repository.
The examples are more specific to the J5, but here are some examples of my configurations for the Chery Tiggo 8 PHEV CSH:
rest:
 ############################################
 # Chery Tiggo 8 PHEV
 # Carlinko integration
 ############################################
 - resource: "http://[Private IP]:8088/api/summary"
   scan_interval: 60
   sensor:
     - name: "Tiggo 8 Battery"
       unique_id: t8_battery
       value_template: "{{ value_json.battery }}"
       unit_of_measurement: "%"
       device_class: battery
       state_class: measurement
     - name: "T8 Range"
       unique_id: t8_range
       value_template: "{{ value_json.range_km }}"
       unit_of_measurement: "km"
       icon: mdi:map-marker-distance
     - name: "T8 Odometer"
       unique_id: t8_odo
       value_template: "{{ value_json.odometer }}"
       unit_of_measurement: "km"
       state_class: total_increasing
       icon: mdi:counter
     - name: "T8 Charge Power"
       unique_id: t8_charge_kw
       value_template: "{{ value_json.charging.rate_kw | default(0) }}"
       unit_of_measurement: "kW"
       device_class: power
     - name: "T8 12V Battery"
       unique_id: t8_12v
       value_template: "{{ value_json.volt12 }}"
       unit_of_measurement: "V"
       device_class: voltage

   binary_sensor:
     - name: "T8 Charging"
       unique_id: t8_charging
       value_template: "{{ value_json.charging.active }}"
       device_class: battery_charging
     - name: "T8 Online"
       unique_id: t8_online
       value_template: "{{ value_json.online }}"
       device_class: connectivity
The sensors I use most often are:
- Battery SOC – displayed on my Home Assistant dashboard.
- Charging Power – lets me monitor charging in real time.
- 12 V Battery Voltage – useful for spotting issues before they become problems.
- Odometer – used to calculate daily, weekly and monthly mileage.
- Charging Status – drives several of my charging automations.
While the integration reports the vehicle’s odometer, I wanted to know how far I’d driven each day, week and month. Home Assistant’s Utility Meter integration makes this incredibly easy by automatically calculating the distance travelled over different time periods.
To keep track of distances, I created the following Utility sensors as well:
utility:
 car_distance_daily_tiggo8:
   source: sensor.t8_odometer
   cycle: daily

 car_distance_weekly_tiggo8:
   source: sensor.t8_odometer
   cycle: weekly

 car_distance_monthly_tiggo8:
   source: sensor.t8_odometer
   cycle: monthly

 car_distance_yearly_tiggo8:
   source: sensor.t8_odometer
   cycle: yearly
At this point your vehicle has become another data source inside Home Assistant. You can already build dashboards, create notifications, and monitor your vehicle alongside the rest of your smart home.
In the next article, we’ll take this much further by integrating my TellusPower charger through OCPP and creating intelligent charging automations that respond to solar production, battery storage, and household energy usage.
Frequently asked questions
Does this work with the Chery Tiggo 7/8 PHEV?
Yes. I am currently using it with my Chery Tiggo 8 PHEV.
Does it work with Omoda?
It’s not tested yet, but since Omoda is part of the Chery family and if it uses the Carlinko application, it should.
Does it require Home Assistant Cloud?
No…
Can I create automations?
Absolutely.
Can I control the vehicle?
At the moment no, you can only read the statuses from the application.
Can I integrate my TellusPower / Omoda / Chery Charger into Home Assistant?
Yes, have a look at: How to integrate a Chery, Omoda & Jaecoo (TellusPower) EV Charger with Home Assistant using OCPP
Let me know if anything is unclear, or if anything needs to be covered in more detail.
Leave a Reply